Wednesday, December 26, 2012

OT: Christmas project with the kids

I managed to heat up the soldering iron and melt some solder during the weekend before Christmas, but it wasn't in pursuit of anything ham radio related.  I have a RockMite kit that I've been meaning to get to, but never seem to get around to it.  But no, this weekend's project was done with and for the kids.

While bumming around Radio Shack a few weeks ago I stumbled across the neatest little Velleman 3D Christmas tree kit!  It didn't look to complicated and was only $7 so I decided to give it a shot with the kids.  Now keep in mind, my kids (the two that were most interested in helping) are 7 and 10 so I couldn't do anything too complex, but this looked right up their alley!


Just like the last little project that I did with the kids, they are still too young to solder, but they can sort parts by type, sort resistors by color code and now they are old enough to actually put the components onto the board as well!  This kit comes with two boards that makes of the planform shape of a Christmas tree.  This worked out perfectly as each kiddo was able to get one board to work on.

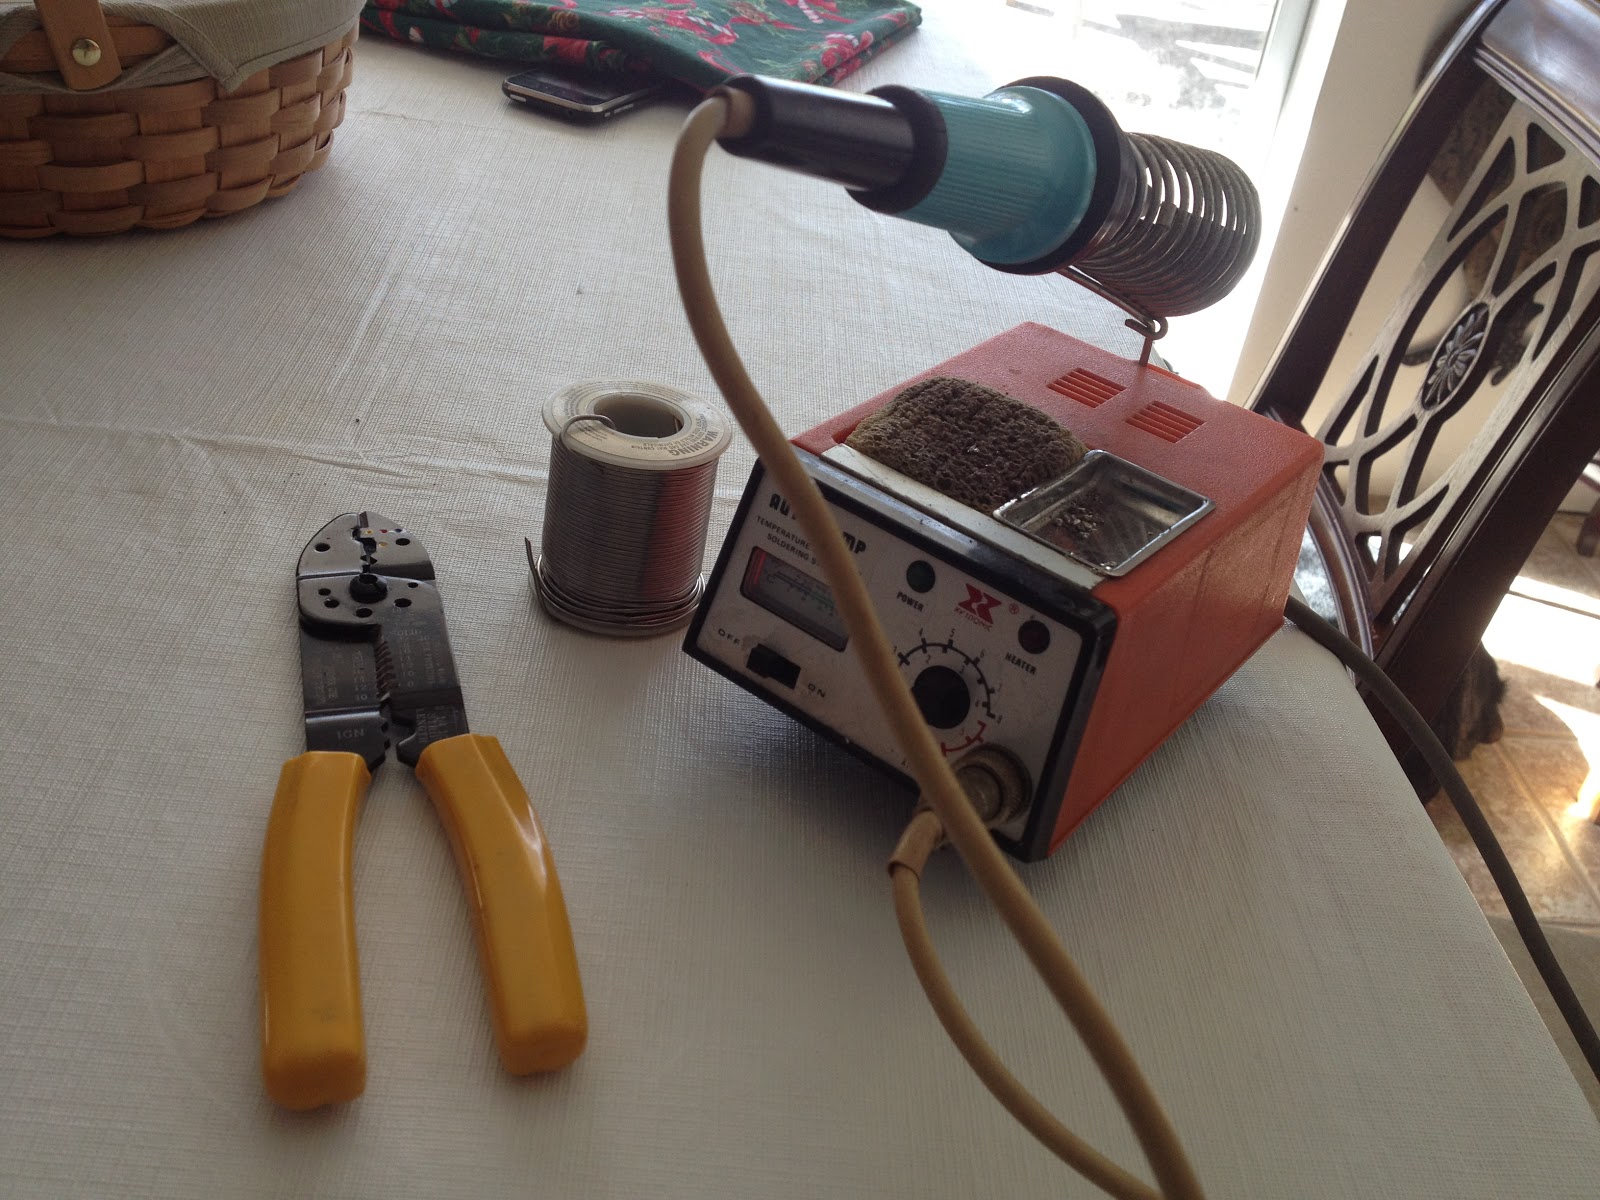
The project did not require much in the way of tools.  A soldering iron, some solder, and some snips.


Our process was this:

  1. The kids sorted out the components into groups together (capacitors, resistors, transistors, etc).
    1. My youngest daughter, the eldest of the group at the bench, took on the task of sorting the resistors by color code, learning a bit about said code in the process.
  2. Each kid got a board, and with some help from Dad found the marked locations for each component (resistor X goes into the R1 location).
  3. They then bent the legs of the components so that they would fit into the holes in the board.
  4. As one kiddo got a part mounted, Daddy would solder it on and trim the excess off.  By then, the next kiddo would have a part mounted and the process would continue.
  5. We continued on in this vain until all of the parts were on the board (first resistors, then capacitors, then transistors, and finally LEDs).
  6. Once that was done, Daddy soldered on the battery leads and joined the two halves together with jumpers (the hardest part of the project).
All in all it was a fun little project that took about and hour and a half from start to finish, and we ended up with an ornament that we can use for many Christmases to come!  

Here is a shot of the eager little technicians that help during the build out, along with the fruit of their labors:


And a close up of the finished tree:


And a couple of shots with the lights off to show the blinking motion of the LEDs:


This was a fun little project and helped to keep the kiddos entertained while Mommy was a work!  I hope to get back to some radio related projects in the near future, like maybe that RockMite kit, or installing a 4BTV vertical, or building a 12el yagi for 2m, or a "turnstile" moxon for satellite work on field day, or you get the idea...  Maybe during some vacation time that I am planning on taking in January...  Time will tell.

Merry Christmas and Happy New Year!

73,

Richard, KK4JDO

Saturday, December 1, 2012

Ham Shack Update

Well, with the exception of finding a Kenwood SP-120 speaker, I have just about completed a station that any ham from the late 80's to early 90's would be proud to call their own!

Just to brag (or whine, depending on time of day, my mood, and your point of view) my collection contains:

HF:
Kenwood TS-440S/AT (with FM module, IC-10 kit, Voice Module, tuner, and ALL optional filters)
Kenwood PS-430 power supply
Kenwood SP-430 speaker
Kenwood AT-250 outboard tuner (for 160m)
Kenwood IF-232C computer interface
Kenwood MC-50 microphone

VHF:
Kenwood TR-9000 (with ComSpec SS-64 tone module) 2m All Mode radio
Kenwood PS-20 power supply
Kenwood SP-120 speaker
Kenwood BO-9 base shelf
Kenwood TR-7730 (2m FM for APRS)
Mirage B-34-G amplifier with GaAsFET per-amp

UHF:
Kenwood TR-9500 70cm All Mode radio
Kenwood PS-20 power supply
Kenwood BO-9A base shelf
NEED THE SPEAKER!  ;-)

MISC:
SignaLink USB soundcard interface
Homebrew soundcard interface (cost <$20 and works just as well as the Signalink)
Homebrew coax tester
Homebrew LED ambiance lights ;-)
Homebrew PTT mic to PC interface
Wouxon KG-UV3D dual-band HT
Heath bench variable power supply
Radio Shack SWR/power meter
MFJ-941D antenna tuner
Cheap CW key

MOBILE:
Yaesu FT-2900R
Galaxy DX959
Radio Shack HTX-10
Radio Shack PRO-2050 scanner
Homebrew radio console

ANTENNA:
RadioWavz G5RV Lite
Homebrew 2m moxon
Homebrew 2m 1/4 wave ground plane

While this may all seem like an impressive list of equipment, it can all be replaced with one radio these days.  The Kenwood TS-2000, the ICOM 7000, the Yaesu FT-857D will each do everything that this entire list does and take up less space and power in the process!  Plus the new radios have DSP to clean up those weak signals.  On the flip side, all of the equipment listed didn't cost me what a fully loaded TS-2000 would cost.  So, pros and cons to each approach.

Anyhow, here is a quick pic of my shack (ignore the ugly desk, its not finished, and I'm an engineer, not a skilled wood worker, although I generally enjoy trying).


So anywho, there you go.  A shadowy flight into the ham shack of a man who does not exist...  Sorry, couldn't resist the geeky Knight Rider reference.

73 and good night,

Richard, KK4JDO