While bumming around Radio Shack a few weeks ago I stumbled across the neatest little Velleman 3D Christmas tree kit! It didn't look to complicated and was only $7 so I decided to give it a shot with the kids. Now keep in mind, my kids (the two that were most interested in helping) are 7 and 10 so I couldn't do anything too complex, but this looked right up their alley!
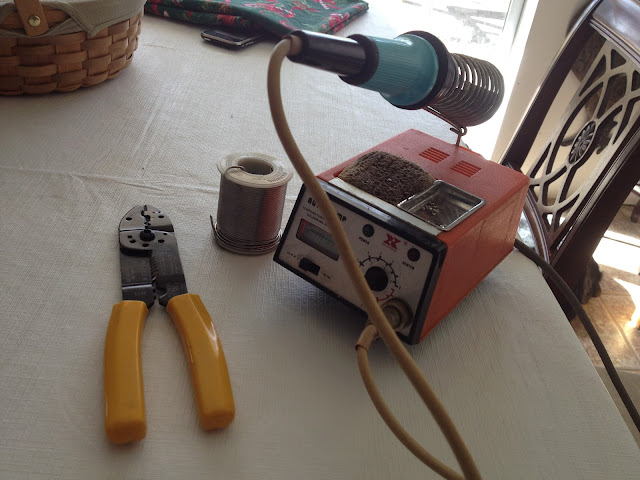
The project did not require much in the way of tools. A soldering iron, some solder, and some snips.

Our process was this:
- The kids sorted out the components into groups together (capacitors, resistors, transistors, etc).
- My youngest daughter, the eldest of the group at the bench, took on the task of sorting the resistors by color code, learning a bit about said code in the process.
- Each kid got a board, and with some help from Dad found the marked locations for each component (resistor X goes into the R1 location).
- They then bent the legs of the components so that they would fit into the holes in the board.
- As one kiddo got a part mounted, Daddy would solder it on and trim the excess off. By then, the next kiddo would have a part mounted and the process would continue.
- We continued on in this vain until all of the parts were on the board (first resistors, then capacitors, then transistors, and finally LEDs).
- Once that was done, Daddy soldered on the battery leads and joined the two halves together with jumpers (the hardest part of the project).
All in all it was a fun little project that took about and hour and a half from start to finish, and we ended up with an ornament that we can use for many Christmases to come!
Here is a shot of the eager little technicians that help during the build out, along with the fruit of their labors:
And a close up of the finished tree:
And a couple of shots with the lights off to show the blinking motion of the LEDs:
This was a fun little project and helped to keep the kiddos entertained while Mommy was a work! I hope to get back to some radio related projects in the near future, like maybe that RockMite kit, or installing a 4BTV vertical, or building a 12el yagi for 2m, or a "turnstile" moxon for satellite work on field day, or you get the idea... Maybe during some vacation time that I am planning on taking in January... Time will tell.
Merry Christmas and Happy New Year!
73,
Richard, KK4JDO


No comments:
Post a Comment